main
How to Use a Tufting Gun [Beginner’s Guide]

Mar
Are you tired of the same old upholstery and want to create something unique and textured? Tufting is the perfect solution. But where do you start? Mastering the art of tufting can be daunting, especially for beginners. Luckily, we’ve covered you with our beginner’s guide to using a tufting gun.
According to a recent survey, 81% of people struggle to create textured upholstery. With our step-by-step instructions, tips, and tricks, you’ll be on your way to tufting success. We’ll cover everything from the items you need to create your first rug to properly using a rug tufting gun and maintenance tips to keep your tool in top condition.
Don’t let the fear of the unknown hold you back – read on to master the art of tufting.
The Items You Need to Create Your First Rug
Creating a rug can be a fun and rewarding experience, but it can also be overwhelming when you need help figuring out where to start. Before you dive in, it’s crucial to have all the necessary items to create your first rug.
Here’s a comprehensive guide to the items you’ll need to make your first rug;
Rug Base
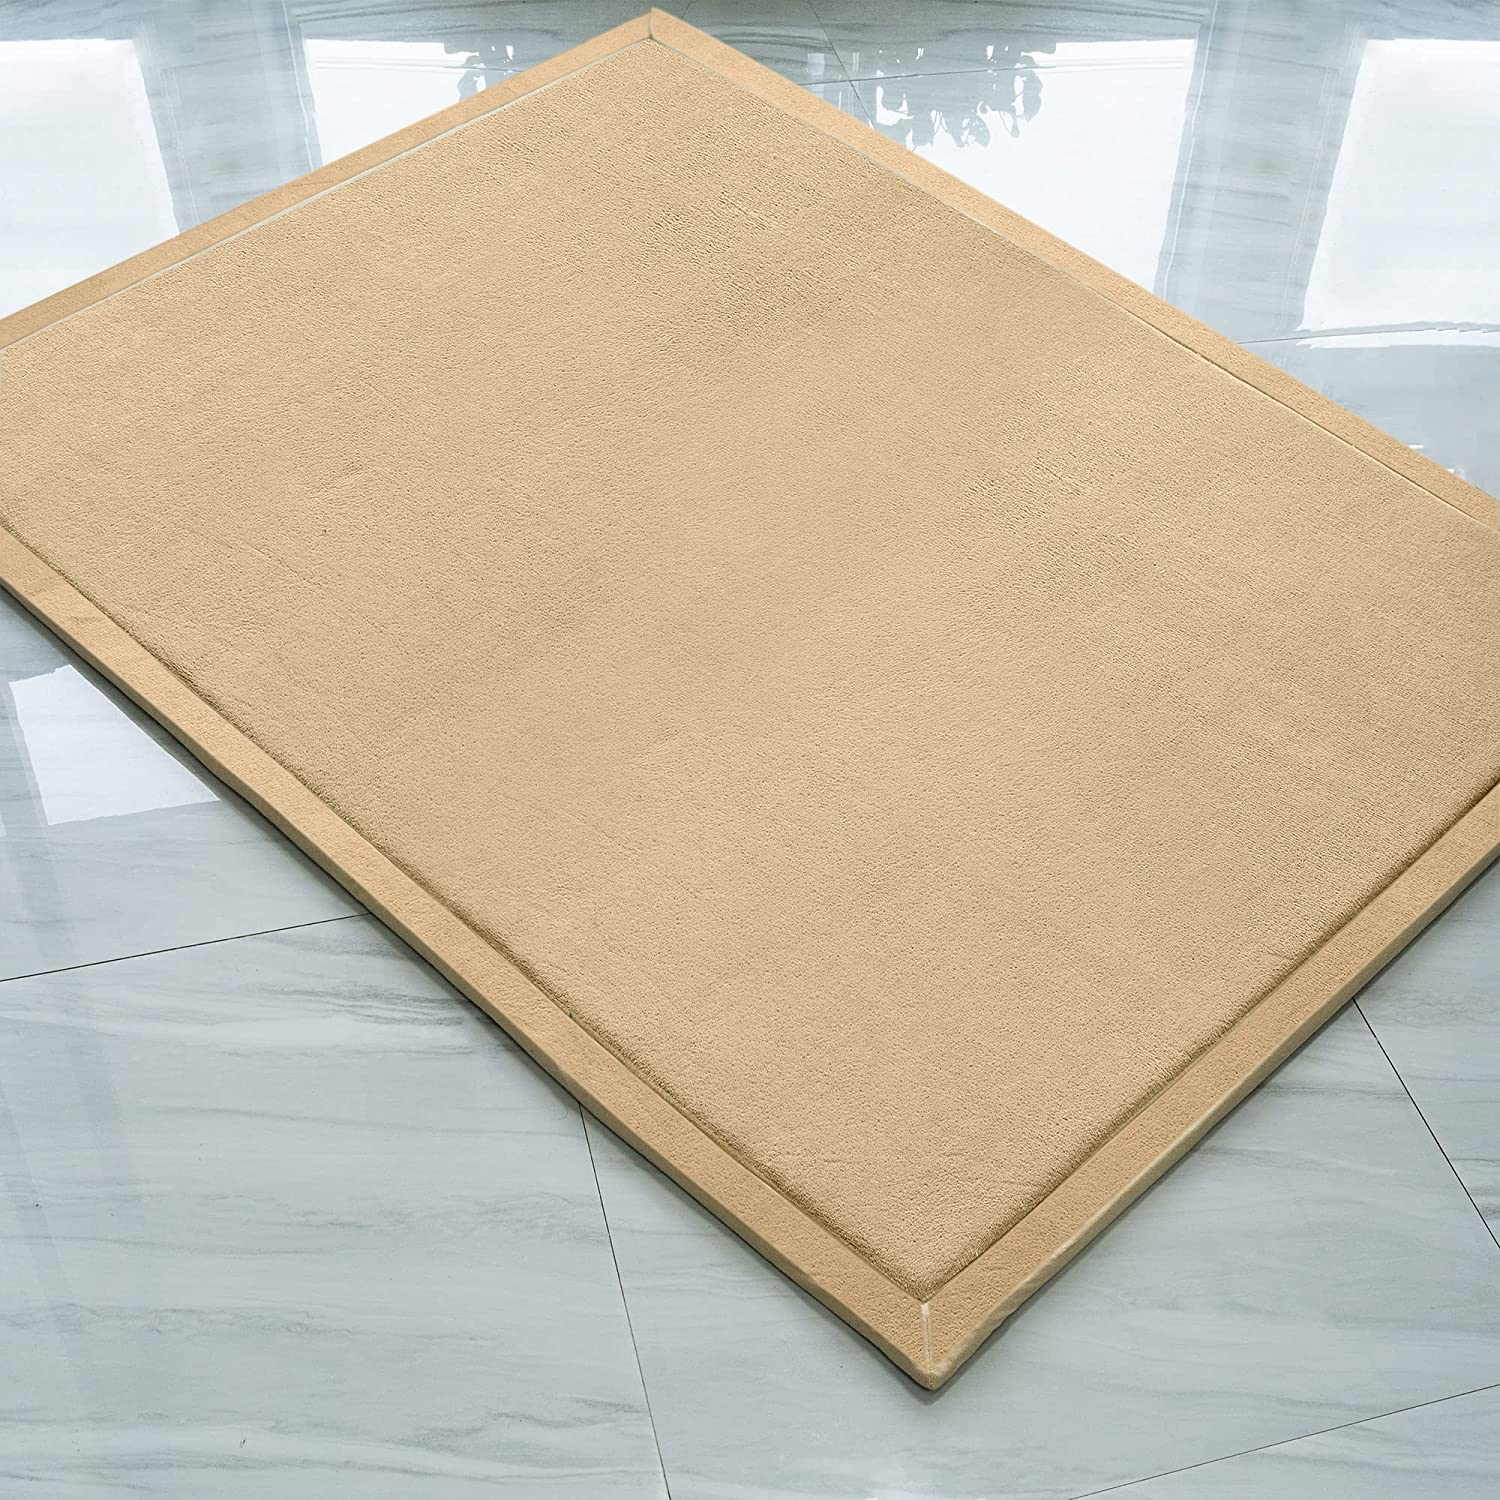
The first item you’ll need is a rug base. This item can be anything from burlap to monk’s cloth to rug warp. Your base will depend on the type of rug you want to make and your preference. Burlap is a popular choice for beginners because it’s affordable and easy to find at any craft store.
Yarn or Fabric Strips
The next item you’ll need is yarn or fabric strips. Yarn comes in various thicknesses and textures, making it a versatile option. You can cut fabric strips from old t-shirts, bedsheets, or any fabric you have. You can also purchase them at craft stores where they are pre-cut. Again, the material you choose will depend on the look you want to achieve.
Rug Hook
You’ll need a rug hook to pull the yarn or fabric strips through the rug base. There are two main types of rug hooks: latch hooks and punch needles. Latch hooks are more traditional and require more skill, while punch needles are more accessible for beginners.
Scissors
You’ll also need a pair of scissors to cut your yarn or fabric strips. Make sure they’re sharp enough to cut through your material quickly.
Rug Binding
Once you’ve finished your rug, you must bind the edges to prevent fraying. Rug binding can be purchased at craft stores and comes in various colors to match your rug.
Optional Items
There are a few optional items you may want to consider, such as;
- rug frame or hoop to hold your rug base taut,
- a rug stencil to create a pattern,
- a rug cutter to cut your fabric strips more easily.
By having the necessary items on hand, you’ll be able to focus on the creative process and enjoy the satisfaction of completing a handmade project. Whether you’re using yarn or fabric strips, a latch hook or punch needle, the result will be a unique and beautiful rug you can be proud of.
How to Use a Tufting Gun
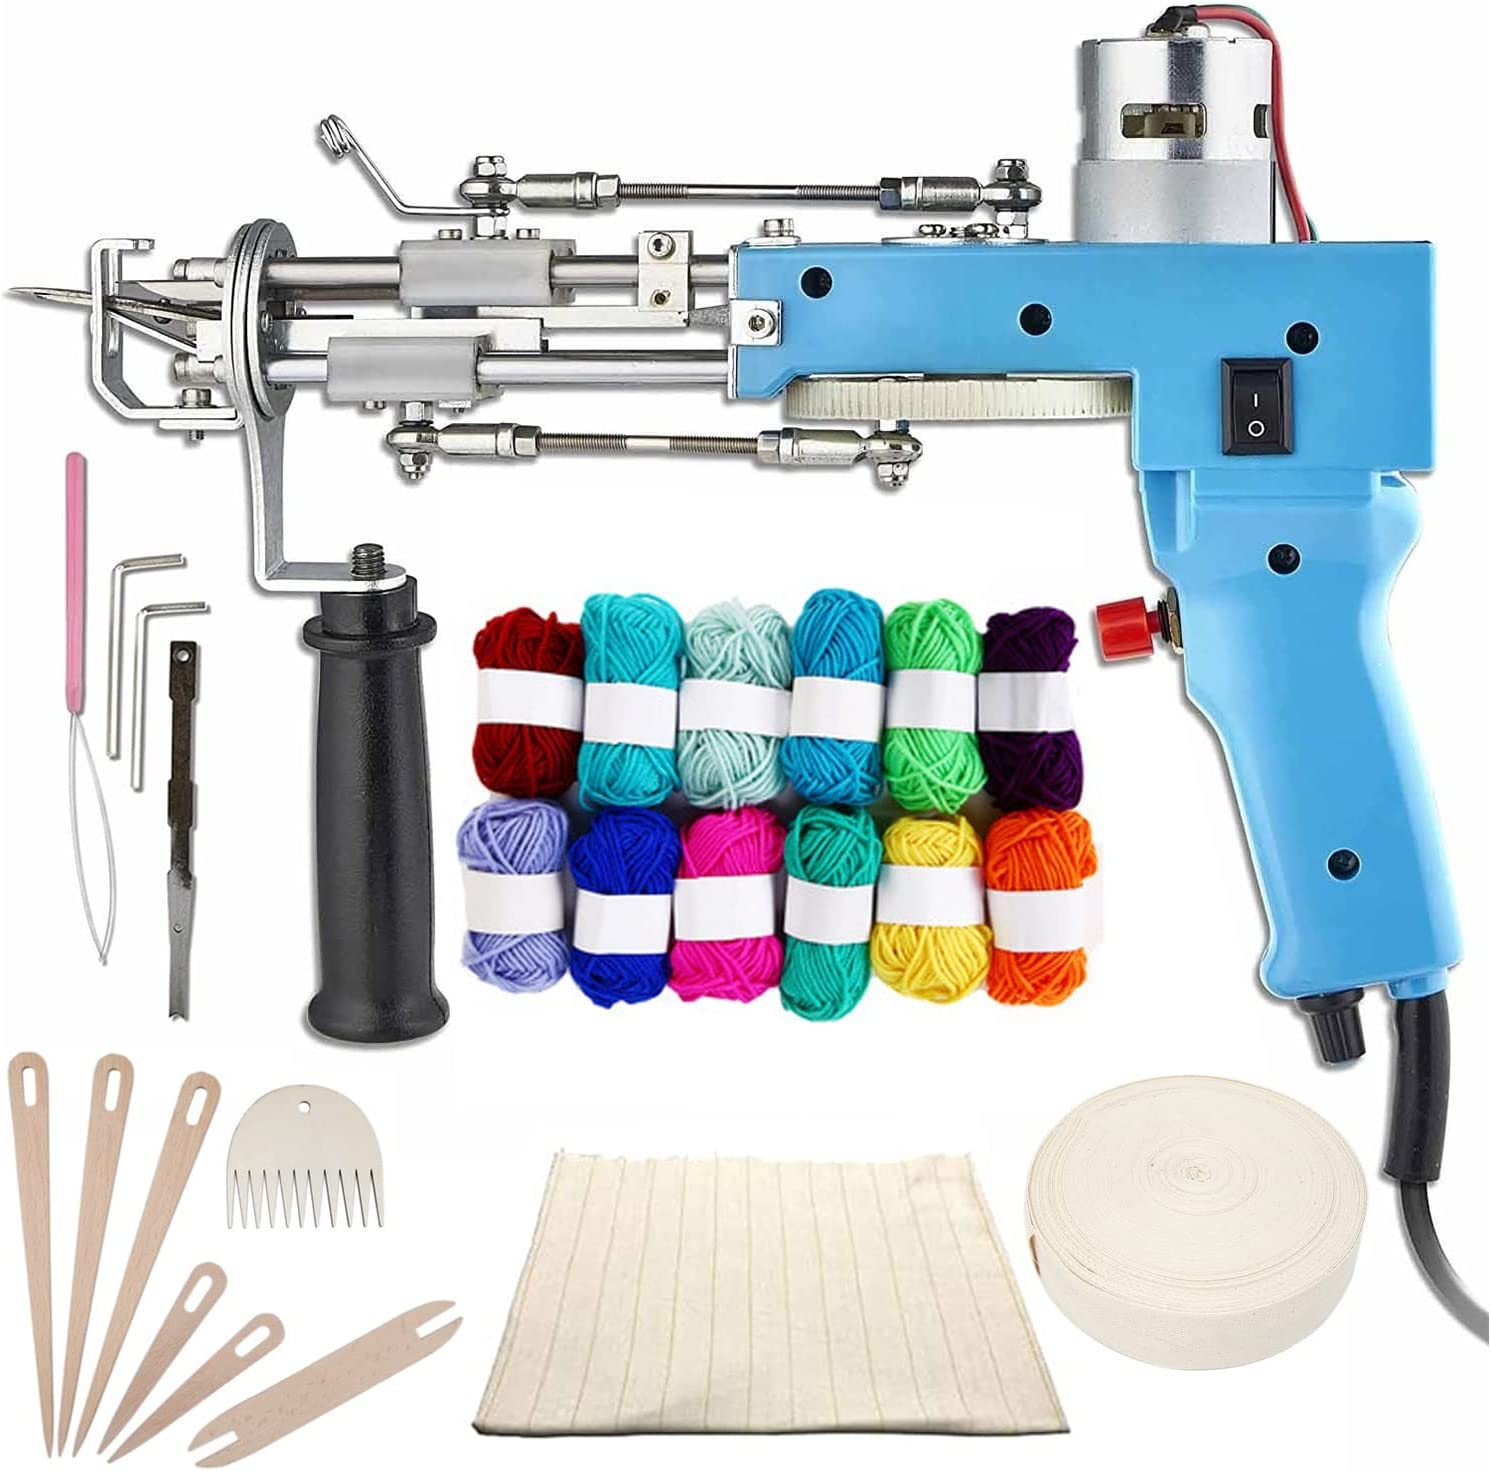
A tufting gun is a tool based on modern technology that makes the process faster and more efficient. Here’s a guide to handling a tufting gun.
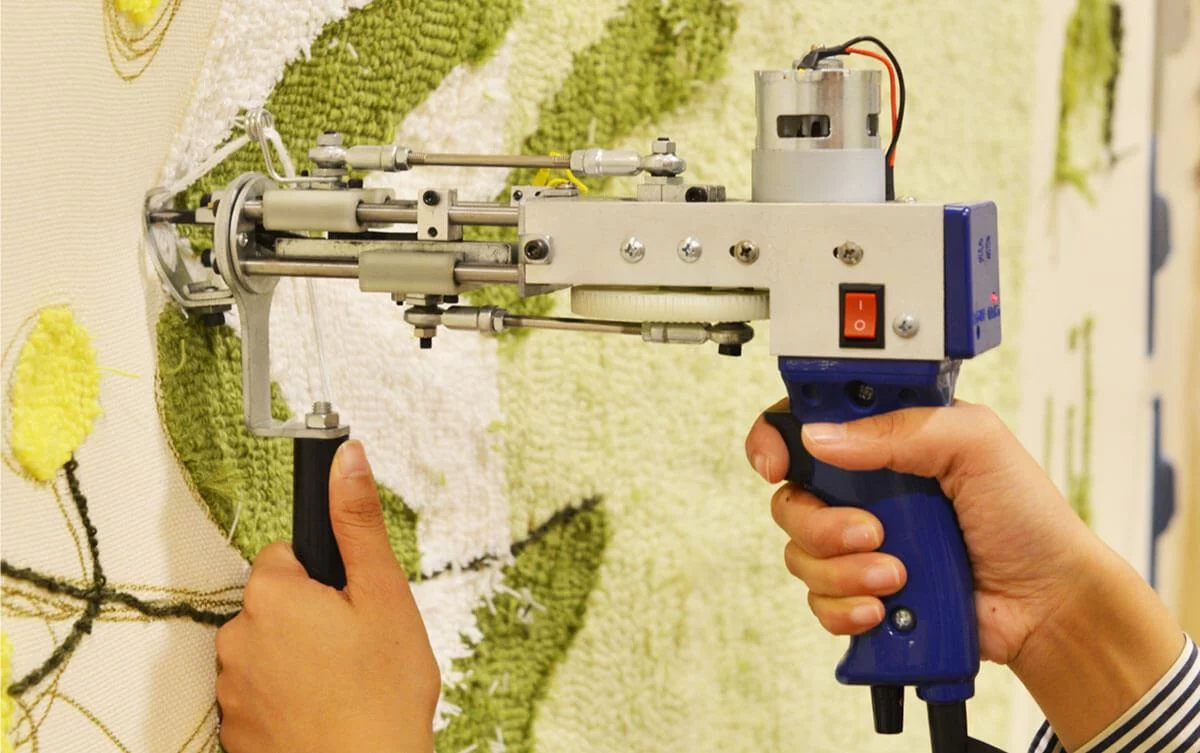
- Step 1: Prepare Your Fabric
Stretch your cloth tightly over a tufting frame or a table before you begin tufting. You can use clips or clamps to hold it in place, making your fabric taut and easy to handle.
- Step 2: Load the Tufting Gun
Fill the tufting gun with yarn or thread. Verify that the yarn or thread is tightly threaded through the needle eye and fastened to the gun.
- Step 3: Create Loops
Press the trigger of the tufting gun against the fabric. This will result in a yarn or thread loop. While creating this loop, it is advisable to ensure the gun’s foot is pressed firmly perpendicularly to the fabric to ensure the yarn doesn’t dance off the cloth.
Create another loop by moving the tufting gun to the correct spot, and continue tufting until the desired design is achieved.
- Step 4: Cut the Yarn
When you’re through tufting, snip the yarn or thread with scissors, leaving a tiny tail. To keep each tuft in place, tie a knot at the root.
- Step 5: Complete it
Repeat tufting until the entire surface of the fabric has been covered. Remove the material from the tufting frame or table when you’ve finished tufting.
7 Best Tufting Guns That You Can Buy
Tips For Tufting Success
Tufting is an art form used for centuries to create beautiful and unique upholstery. However, it can be a daunting task for beginners to master. Many suggestions and techniques can help you attain tufting success.
Here are some of the essential tips for tufting success:
Plan your pattern
Before starting your tufting project, take the time to plan out your pattern. This sense of direction will help ensure your tufts are evenly spaced and look great.
Begin with a strong foundation.
Your tufted piece’s foundation is as essential as the tufting itself. Check that the fabric you’re using is taut and secure. You can use pins and clips to keep the material in place before you start tufting. This firmness will aid in the formation of equally spaced and well-formed tufts.
Employ the proper tools.
A tufting gun is a vital instrument for successful tufting. Choose a high-quality tufting gun that is comfortable and easy to use. Using needles that are the right length and gauge for your project is also advisable.
Practice your technique
Tufting can be challenging, so practice your technique before beginning your final project. Try tufting on a scrap piece of cloth or an old pillow to get a feel for the procedure.
Choose a suitable fabric
Not all fabrics are created equal when it comes to tufting. Choose a sturdy material to hold up to tufting and soft enough to sit or lay on.
Take Breaks
Tufting can be a repetitive and tiring process. Take frequent breaks to rest your hands and avoid injury.
Keep Your Tufting Gun Clean
A clean tufting gun is essential for tufting success. Make sure to clean your gun regularly and oil it as needed.
Be Patient
Tufting can take time, so it’s essential to be patient and take your time. Rushing through the process can lead to mistakes and frustration.
In conclusion, tufting can be rewarding and enjoyable when done correctly. By following these tips for tufting success, you can achieve beautiful and unique upholstery that will be the envy of all your friends and family.
How To Make A Rug With A Tufting Gun
Tufting Gun Maintenance
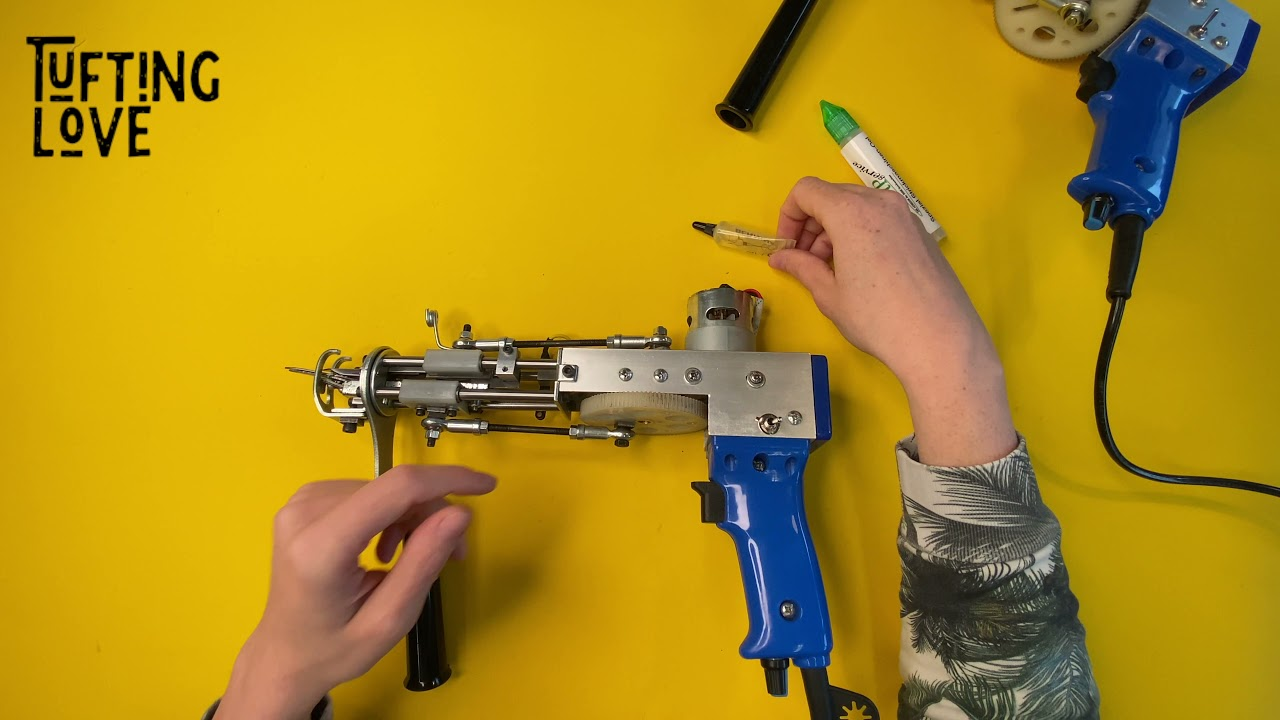
Tufting guns are one of the most critical and expensive tufting equipment. You don’t want it working in bad condition. Therefore, paying close attention to its care and maintenance is vital.
You should do the following to ensure your tufting gun works in perfect condition for a long time.
Keep it Clean
Regular cleaning is essential for maintaining any machine, and a tufting gun is no exception.
Before and after each use, eliminate tiny fibre parts left in your machine. You can use a clean cloth, air compressor, or brush to remove any dust, debris, or stray fibres that may have accumulated.
Furthermore, if your machine has any removable parts, such as needles or hook assemblies, endeavour to get into these places to remove any fibre or debris. Doing this helps your gun to keep supplying the yarn correctly. It ensures the gun is not jammed.
Lubricate Regularly
Proper lubrication is critical for ensuring your tufting machine operates smoothly and efficiently by minimizing friction between machine parts. Most devices have designated lubrication points that should be oiled regularly. Check your machine’s manual to determine which components must be lubricated and how often.
However, you can’t just use any form of lubricant. For instance, sewing machine lubricants are not ideal for your tufting gun as it causes the parts to degrade quickly. Instead, you can use knitting machine lubricants to lubricate your tufting gun because it helps the parts slide seamlessly over each other without any grip.
Replace Worn Parts
Over time, certain parts of your tufting machine may become worn or damaged. This damage can lead to poor performance and even damage to your fabric. It’s essential to regularly inspect your tufting gun for signs of wear and replace any malfunctioning parts.
Adjust Tension Settings
The tension settings on your tufting machine can significantly impact the quality of your work. Suppose you’re experiencing issues such as loose tufts or skipped stitches. In that case, adjusting your machine’s tension settings may be necessary. Refer to your machine’s manual for specific instructions on adjusting tension.
Store Properly
When not in use, storing your tufting machine in a safe and dry location is essential. Cover it with a protective cover to prevent dust and debris from accumulating. If your device has removable parts, such as needles or hook assemblies, store them separately in a labeled container.
Properly maintaining your tufting machine is essential for achieving high-quality results and extending the life of your device. By following these simple tips, you can ensure that your machine stays in top condition and continues to produce beautiful and unique upholstery.
Conclusion
In conclusion, mastering the art of tufting can be a fun and rewarding experience for beginners. You can quickly achieve a unique textured rug with the right tools and materials. A tufting gun can make the process of tufting faster and more efficient. Following the tips and techniques outlined above can ensure tufting success.
Remember to choose a heavy-duty fabric suitable for tufting, use a tufting frame or table to keep your material taut, experiment with different yarns or threads, and practice on a small piece of fabric before attempting a larger project.
Finally, maintaining your tufting gun is crucial to keeping it in top condition. You can confidently create beautiful and unique tufted pieces by following these guidelines.