main
How to Set Up a Tattoo Gun | Complete Guide for Tattoo Beginners
Sep
Have you ever gotten a tattoo from a professional studio and wondered, “Man, I wish I had my tattoo machine so I could do tattoos for myself and my friends!” Well, here is a fun fact for you: many successful tattoo artists started from home studios! Setting up a tattoo gun is easier than you think.
All you need is a clean environment and the proper tools and guidelines. Because let’s be honest; if your machine isn’t set up correctly, you’ll end up being more stressed than satisfied.
In this article,
How Does a Tattoo Machine Work?
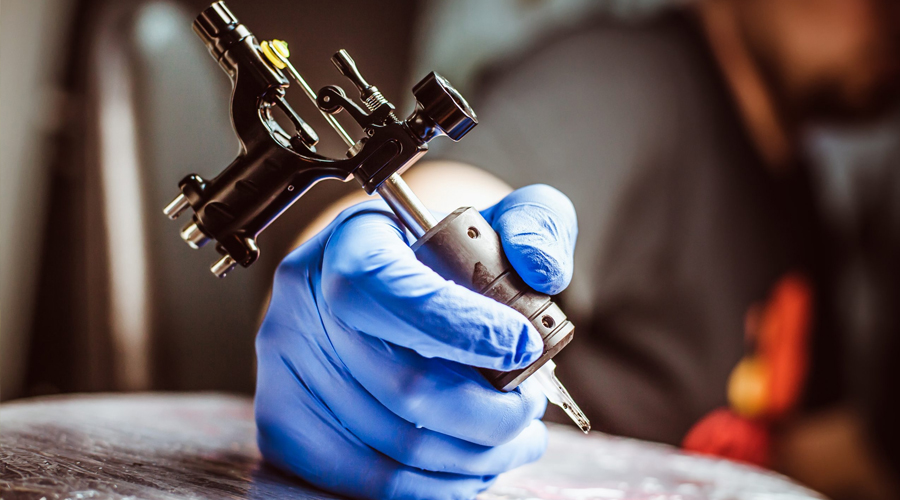
A tattoo machine, or tattoo gun, is a hand-held instrument used to make permanent markings on the skin using indelible ink. Recent tattoo machines feature electromagnetic coils, which are used in moving an armature bar. Connected to this armature bar serves as a barred needle group that pierces the ink into the skin.
Types of Tattoo Machines
Before we begin, you must know that there are different kinds of tattoo machines – coil, rotary, and pneumatic tattoo machines. Every machine has its pros and cons in cost, working, maintenance, and power supply. These machines work proficiently on human skin, but they must always be hygienic and sterilized.
Before buying equipment, you must make the necessary comparisons and decide which tattoo machine will be most appropriate for you. Generally, the most commonly used tattoo machine you must be familiar with is the rotary tattoo machine. You will know how to set up a rotary tattoo gun after reading this guide.
Related: best wireless tattoo machines
How to Set Up a Tattoo Gun
If you are a beginner to set up a tattoo gun, you might mix up the various aspects of tattooing machines required to generate different tattooing styles and techniques.
- Needles: the most noticeable difference among machines is the number of needles and their positions in the bar. Liners (RL) generally use one to seven needles placed in a circle, whereas shaders (RS) can have more than four needles placed in a straight line. It is essential to use the correct needles for your machines.
- Power and Speed: liners generally function faster and offer more precision, whereas shaders need a higher voltage to pierce the skin and provide long-lasting color. So shaders will produce stronger vibrations.
- Type of Coil: The rule of thumb when setting up a tattoo machine for shading is to have a higher wrap coil that generates sufficient power for several needles. Hence, the shader requires a 10 to 12 wrap coil, and the liner will need an eight wrap coil. Also, you’ll need to modify the gaping between the armature bar and the front coil by adjusting the rear spring tensions and the front screw of your machine.
- Machine’s Weight: this is a factor that majorly and mainly impacts all your work. Shaders are slightly heavier than liners. Hence, practice tattooing with both light and heavy machines to attain consistency in your high-quality work and elude any mishaps and mistakes.
Here is an overview of putting a tattoo gun together:
- Selecting the Right Parts
- Assembling the Tattoo Machine
- Setting up the Power Supply
- Connecting Everything Together
- Doing a Practice Run
1. Selecting the Right Parts
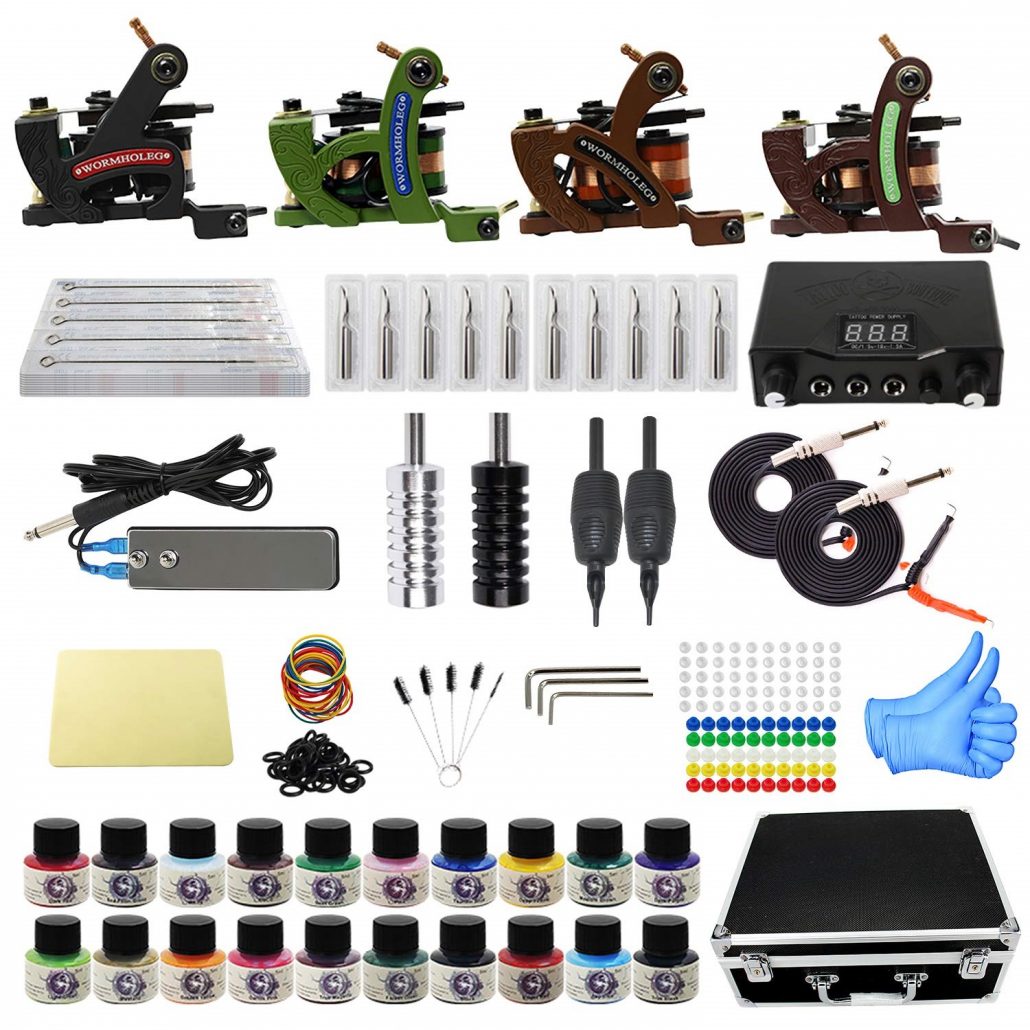
Instead of having to gather all the appropriate equipment, you can simply buy a starter kit. These are extremely convenient since they provide all the essential parts required for tattooing. They might not be very high in terms of quality, but they are a great option for beginners who are just learning to operate a tattoo machine.
This is the ideal time to have a chat with your regular tattoo artist. Most of them have operated a home tattoo kit at some point in their career, and their input can be quite helpful at this stage.
If you are looking to buy better-quality parts, you may choose to purchase each component individually. This gives you a range of options to choose from and provides you the opportunity to set up your machine the way you want to. Moreover, individual parts usually last longer than those in a starter kit.
Before setting up the machine, you must at least have a small screwdriver and an Allen key set. Also, if you’ve purchased a kit, check the instruction manual or inspect all the individual parts to assess whether you’ll need any more tools to set up your tattoo machine.
2. Assembling the Tattoo Machine
Now that you have everything you need, it’s time to get assembling. But before doing anything, sanitize your hands with antibacterial soap, or wear a pair of latex gloves. Tattoo machines must be kept clean and handled with the utmost care.
So basically, your machine has these five core components which can be removed or replaced when needed:
- A-frame that holds everything together.
- Two electromagnetic coils provide power to run the machine.
- The coils swiftly move an armature bar, which is attached to a barred needle.
- A power supply is linked to the coils.
Now that you know what’s what, let’s start putting two and two together.
- Examine the grip of the machine to assemble the barrel. There are two sides of the grip for the tube and the machine’s tip. Adjust them to the desired length, and tighten the two screws on the grip.
TIP: Normally, the needle should not exceed the tip by more than 2 mm, and shouldn’t be less than 1 mm. If the needle draws too much blood, then it is too long.
- Examine the needles you have bought or those that came with the machine. Tattoo needle arrangements are broadly divided into shaders and liners. As their names suggest, liners outline tattoos, whereas shaders are used to fill, shade, and color the image. Both types include various needles organized on a single bar. Liner needles are arranged close to one another and form a round tip, whereas shaders are organized next, forming a straight or curved line. Needles can be purchased separately or in bundles of 2 to 7 or more arranged in rows or circles for doing large-scale work and making thicker lines and coloring.
TIP: Never use a dull needle while assembling your tube. Burs and bent needles can make the skin bleed more and ink flow incorrectly, resulting in painful complications and scar tissue formation.
- Now that the needle is inside the tube, the next step is to insert the tube into your machine’s tube slot. Next, slide it up far enough so that the wingnut can be tightened to secure the tattoo tube and machine together safely.
- The next step is securing the armature bar nipple, also known as the grommet. The latter locks the needle and creates a grip on the machine’s base. Simply place the nipple on the armature bar pin and fasten its round open end onto the nipple. If you haven’t done this correctly, you’ll see that no ink will be going into the skin while tattooing and a lot more blood will be drawn.
- Now the tube is assembled, you need to adjust the length of the needle to determine how much is exposed. This is done by regulating the tube vise, an adjustable screw between the armature and needle.

3. Setting up the Power Supply
Now that you’ve assembled your tattoo machine, it’s time to plug it into a power supply.
Power supplies have various specifications and voltages. Those with digital or analog displays are easier to monitor and adjust. If your starter kit came with a power supply that is not adjustable, change it to one that is more feasible. You’ll also require a clip cord to connect your tattoo machine to the power supply. And don’t worry – a power supply won’t be costlier than your tattoo machine!
Remember to always check the fuse and voltage before setting up your power supply. Most tattoo power supplies are equipped with a regulated control for monitoring the fuse and power supplied into the machine.
TIP: It’s recommended that you buy a footswitch for your power supply. A footswitch activates and controls the voltage supplied to the needle from the power supply, just like sewing peddles. They are relatively inexpensive and aren’t challenging to set up.
4. Connecting Everything Together
It’s time to bring your tattoo machine to life! Here is what you need to do:
- Connect the footswitch to the power supply.
- Connect your machine to the power supply via the clip cord at the bottom of the machine. The power supply should only have two inputs; make sure you attach the cables in their proper sockets.
- Give the machine a test run. When you press the footswitch, the needle must vibrate at a regular speed without stopping.
5. Doing a Practice Run
If you do not want to start tattooing yourself or others just yet, a good tip is to practice your technique on pears or apples. That’s because their skin is quite similar to human flesh. If the fruits become damaged, that means you’re puncturing the needle too deep.
Just adjust the machine as required, keep practicing, and soon you’ll be a tattooing master.
You can also check the video to know more about setting up a tattoo gun.
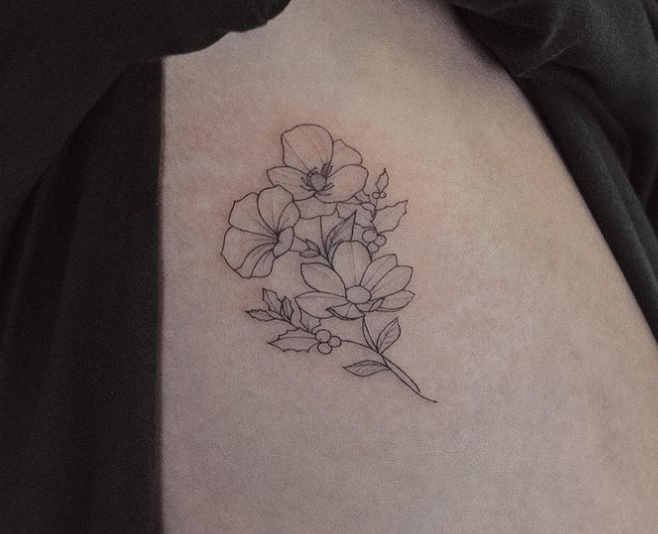
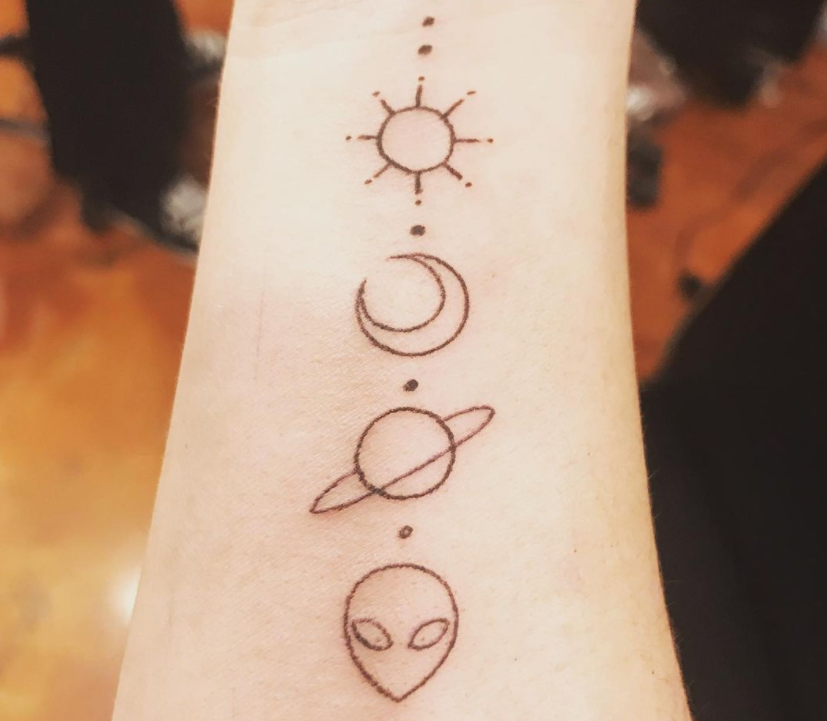
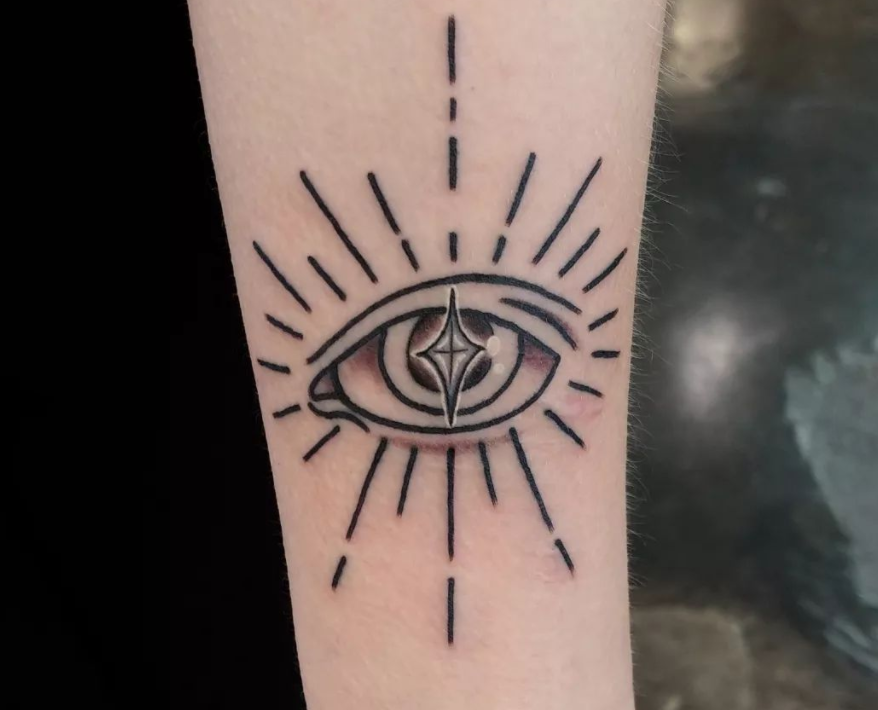
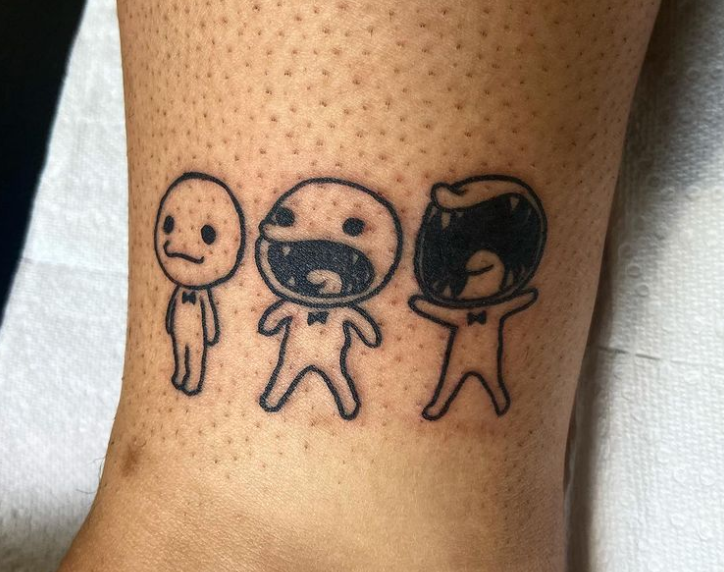
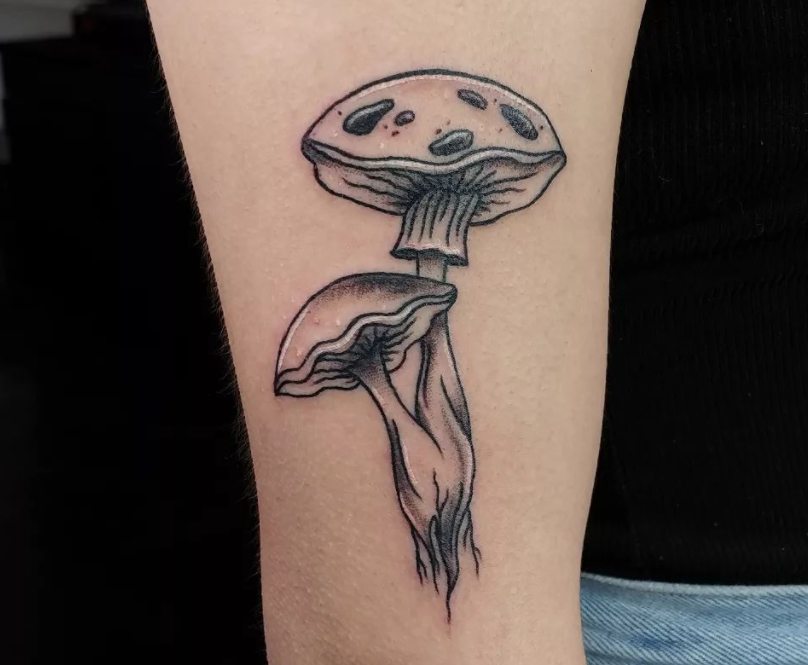
Some Simple Tattoo Ideas You Can Try
If everything works well in the practice run, you may be eager to start tattooing yourself or others with the newly set-up tattoo gun. Here are some simple but charming tattoo ideas you can try at first:

Conclusion
Setting up a tattoo gun isn’t as complicated as it may seem; with the right tools and a basic understanding of what and where everything goes, you can quickly assemble and use a tattoo machine in your own home.
Make sure you have a firm hand and good quality equipment. Start practicing with some basic images and styles, and you will eventually develop your skill to the level of creating beautiful multicolor masterworks on the human body.