
BEST CEILING SPEAKERS COLLECTION FOR YOU
What are ceiling speakers?
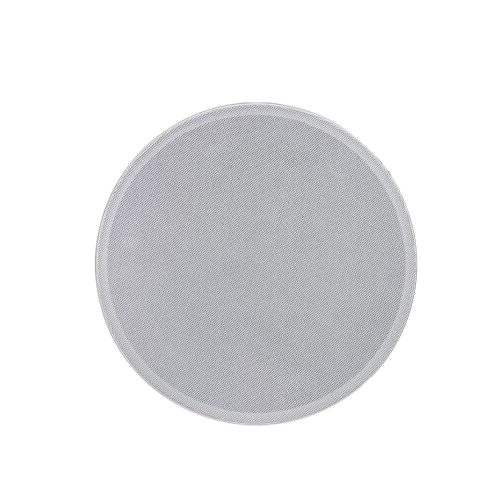
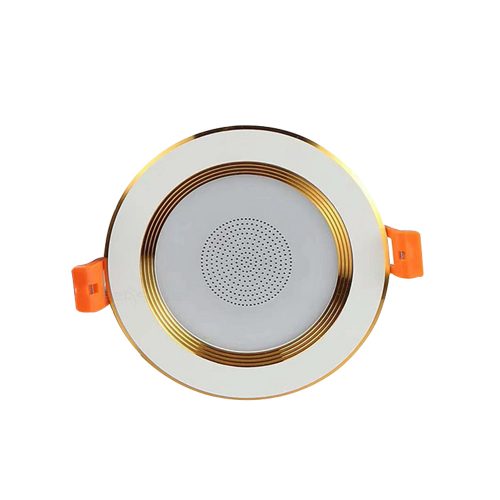
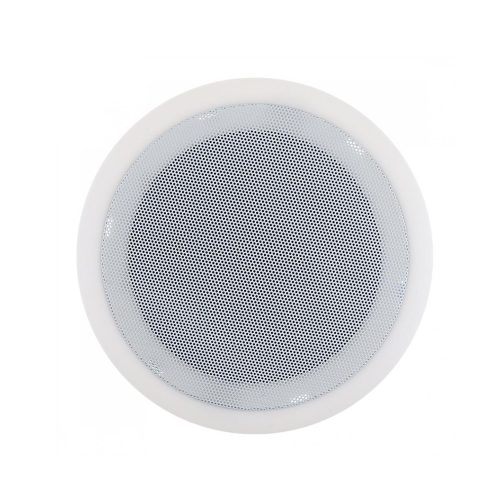
Ceiling speakers and in-wall speakers are audio equipment installed on the ceiling or wall to provide the same sound effects as ordinary speakers without taking up space.
What are the best brands?
There are many relatively well-known and popular brands like Lenovo, YAMAHA, Bose, Sonos, JBL, Monoprice, Klipsch, Generic, Polk Audio.
How to install ceiling speakers?
Before Install
Check the back of the ceiling and choose a suitable area for your ceiling installation of audio speakers. When laying the speaker cable to the installation location, avoid putting it together with the wire to prevent noise.
Prepare Materials
A ladder; tape; pencil; plank; knife; keyhole saw; wire stripper; screwdriver
Step by Step
Step 1: Use a wooden board to make a template that is the same size as the ceiling speaker.
Step 2: Use a pencil to draw a circle on the ceiling along with the template, and use a knife to draw a circle along the pencil mark.
Step3: Follow the circle you have drawn and cut with a keyhole saw.
step4: Put the speaker into the hole, then remove the grille from the speaker, then pull out the wire on the ceiling, peel off one end of the two conductors and strip the insulation sleeve to expose about half an inch of copper wire, and connect both ends to the speaker. Finally, tighten the speaker with screws.
Where to buy ceiling speakers?
You can choose the best ceiling speakers on LumBuy. LumBuy cooperates with well-known brands, quality and professionalism are well guaranteed. There are often discounts on LumBuy. Get the ceiling speakers at a lower price, twenty-four hours pre-sale, and after-sales service.
Shipping Fast: Standard Shipping or Air Shipping according to your location.
24 Hours After-sales Service: Get in touch with our customer service department anytime.
Shipping Fast: Standard Shipping or Air Shipping according to your location.
24 Hours After-sales Service: Get in touch with our customer service department anytime.
Where to place ceiling speakers?
How far apart should ceiling speakers be?
It is best to put the ceiling speakers at the same distance from each wall and at least 2 meters between the ceiling speakers to get the best surround sound experience.
It is best to put the ceiling speakers at the same distance from each wall and at least 2 meters between the ceiling speakers to get the best surround sound experience.
How many ceiling speakers per room?
The number of ceiling speakers can be determined according to the size of the room and the size of the speakers. Generally, there are two ceiling speakers, one for playing the left channel and the other for the right channel. However, four ceiling speakers in the room will provide a more balanced surround sound.
How do ceiling speakers work?
Ceiling speakers are usually passive speakers, which means that they do not have a built-in amplifier, but instead amplify the sound by connecting each ceiling speaker to an amplifier.
How are ceiling speakers powered?
"Active" speakers can be used when powered. They contain a built-in amplifier, which works after connecting the power supply to the speakers. It can be controlled by Bluetooth or WiFi.
The most common are "passive" speakers, which require an external amplifier.br>
How are ceiling speakers powered?
"Active" speakers can be used when powered. They contain a built-in amplifier, which works after connecting the power supply to the speakers. It can be controlled by Bluetooth or WiFi.
The most common are "passive" speakers, which require an external amplifier.br>
How to connect ceiling speakers to amplifiers?
Step 1: Before wiring, the amplifier, determine where to put it. It should be placed in a convenient location for you to manipulate. Then measure the distance between the amplifier and the ceiling speaker to determine the required length of the wire.
Step 2: Connect the black and red wires on the amplifier to the ports on the ceiling speakers that correspond to the colors of the amplifier wires. After connecting the wires, leave some extra wire length where the speakers are.
Step 3: Test whether the amplifier and ceiling speakers can work normally and fix the ceiling speakers.
How much to install ceiling speakers?
The price range for installing ceiling speakers is between US$53.48 and US$127.42 each. The actual price will depend on the location you choose, the scale of work, etc.