Showing all 5 results

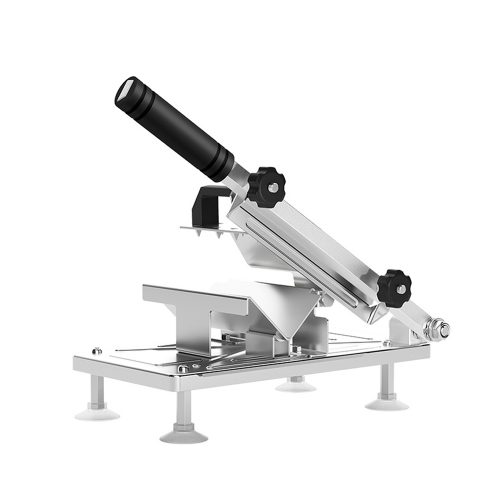
If you regularly process a lot of meat, vegetables, cheese, etc., slicing by hand can make your hands sore. In addition, it’s hard to get all the meat sliced equally thick. However, a good meat slicer can help you get the job done easily. It is a crucial player in the kitchen, with its sharp blades cutting raw and frozen meats, cheeses and more. Both manual and electric meat slicers can cut thin slices of meat quickly.

If you want to slice your meat differently, a trip to the deli may not be the best option. Who will be patient to help you slice meat into three different thicknesses? This is where a home meat slicer plays an important role. It allows you to cut the meat the way you like and, in the long run, saves time and effort. In addition, if you have a small business, a commercial meat slicer is an irreplaceable machine for growing your business.

LumBuy guide picks out a few of the best deli slicers on the market for you and gives you an idea of what to look for.


BEST MEAT SLICER COLLECTION FOR YOU

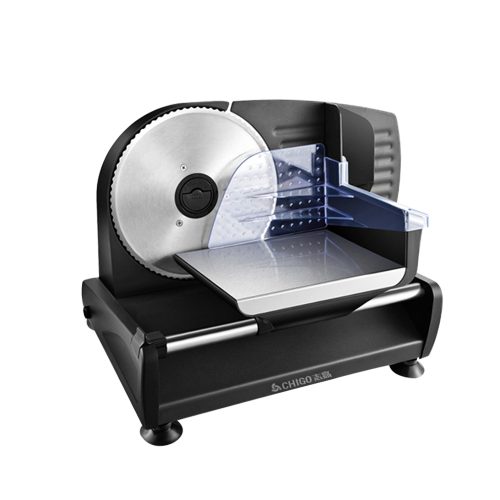
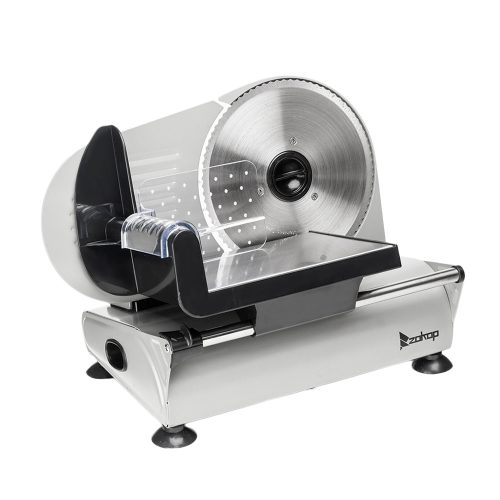
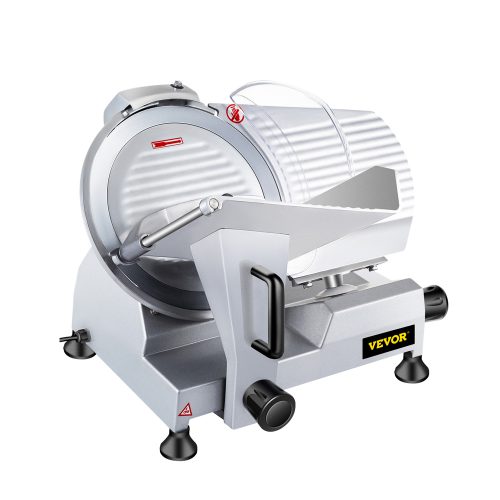
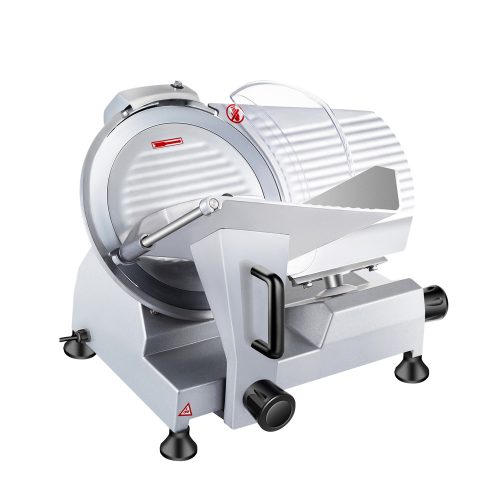
A meat slicer, also called a deli slicer, a food slicer, or a meat cutting machine, is a kitchen tool used to slice sausages, meat, cheese and other foods. Generally, you can adjust it to get different thicknesses of meat slices. Generally speaking, there are two types: electric meat slicer and manual meat slicer. Commercial meat slicers are usually used in delis and butcher stores. Traditionally, it is commercial equipment. Older models may be hand-crank meat slicers, while nowadays, they rely on motors. But nowadays, deli slicers for home use are emerging to meet people's needs.

LumBuy is an e-commerce company that focuses on high-quality products. We have the strictest supplier selection criteria and will only select 5-star products with an excellent reputation, where you can shop with confidence and buy the best products.

Chef'sChoice

Hobart

Borlebbi

Berkel

Generic

Weston

HOUSNAT

LEM

Gourmia

Rival

SuperHandy

BESWOOD

Berkel

Cuisinart

VBENLEM

NVTED

Globe

Kitchener

OSTBA

Moongiantgo

Nesco

AnEssOil

Kitchenware Station

Cabela's

KitchenAid

Univex

KRUPS

A deli slicer is one of the most common kitchen tools. With our guidance, you can learn to use it in no time!

  • Step 1: Place the meat in the slicer
Open the clamp arm and put the food into the food holder.

Close it. You should hold the meat or cheese securely in place.

In addition, you can put a piece of wax paper on the machine to keep the slices in perfect shape.

  • Step 2: Adjust the thickness of your slices
Adjust the thickness by using the index knob. If you can't find the knob, cut a sample slice and adjust it.

  • Step 3: Turn on the deli slicer
Plug the machine into a power source, turn on the power button, and the blades will spin fast! You don't have to do this with a manual meat slicer.

  • Step 4: Make a quick slicing motion
For an electric slicer, push the sliding tray forward. The slices fall to the left side of the machine. Then pull the sliding carriage toward you.

For a manual slicer, you simply drop the blade onto the meat and lift it back up.

  • Step 5: Turn off the deli slicer
Turn off the machine and unplug it. Turn the indexing knob back to zero to prevent accidental cuts from the sharp blades.

  • Step 6: Clean your deli slicer
You should clean every crevice of the machine. Be sure to wear gloves to prevent cuts!

When choosing a deli slicer, try to focus on these four aspects.

  • Motor
The motor determines how fast and how much power is available for cutting.

1/4-1/3 hp: less than one hour of work per day/thinner meat

1/3-1/2 hp: a few hours of work per day

1/2 hp or more: daily use/all-day work

The lower horsepower models are the most cost-effective if you don't use them often.

  • Meat Slicer Blade Size
Blade size depends on what you want to do with it. Smaller blades are easier to clean and are suitable for thinner cuts of meat. Larger blades can cut a variety of foods, such as vegetables.

Entry-level blades: 7 to 10 inches

More powerful blades: 12 inches to 14 inches

Commercial meat slicer blades: around 12 inches

  • Safety
The best ones have safety features or guards to prevent you from cutting yourself. Blade guards should be indispensable. Of course, you can also purchase cut-resistant gloves. In addition, the easy-to-reach on/off button allows you to turn off the machine quickly.

  • Ease of use
There are two types of meat slicers: automatic meat slicers and manual meat slicers. There are automatic meat slicers that allow for manual settings and cutting controls. However, manual meat slicers are easy to operate and are suitable for infrequent meat cutting. If you cut meat daily, an automatic slicer is the best choice.

You also have to consider if it has cleaning legs for easier cleaning.

Cleaning slicers is primarily about ensuring food safety. This keeps the machine running efficiently, increases its lifespan, and prevents foodborne illnesses.

  • Light cleaning
Perform a cleaning after each use of the machine. If you use it more than four hours a day, do multiple cleanings per day. This prevents particle and juice buildup, but does not have the effect of deep cleaning and sanitation.

1. Unplug it.

2. Set the machine blade to zero.

3. Wipe off debris with a cloth.

4. Take a cloth, detergent and hot water and wipe down the slide, food chute, product pusher, blade and product collector, and other small nooks and crannies. Do not use abrasive sponges or steel wool.

5. Rinse the machine with a clean towel and hot water and let it air dry.

  • Deep Cleaning
It is essential to clean the machine thoroughly after using it every day. You need to disassemble the machine and clean the meat slicer parts thoroughly.

1. Unplug it.

2. Set the machine blade to zero.

3. Wipe off particles with a cloth.

4. Disassemble the food slicer.

5. Take the parts to a sink with hot water and detergent.

6. If the disassembly tool is not included, read the user manual.

7. Wash all parts with hot water and soap.

8. Rinse the parts and use sanitizing spray.

9. Let them air dry.

10. Reassemble the food slicer.

11. Cover the food slicer and ensure it is clean the next time you use it.

  • Tips
1. Do not use steel wool and abrasive sponges/cloths.

2. Use cut-resistant gloves when removing the blades.

3. Use food handling gloves to prevent the growth of germs.

According to the FDA Food Code, food slicers should be cleaned and sanitized at least every 4 hours.

  • Step 1: Clean the blades
You will need to clean the blade with warm water and detergent to remove any residual food or oil.

  • Step 2: Meat Slicer Blade Sharpener
Loosen the knob.

Rotate the attachment 180 degrees until it is positioned to make contact with the sharpening stone and blade.

Once the knife sharpener is in place, lock the knob back in place.

  • Step 3: Start sharpening the knife
Turn on the sharpening stone button.

Once on, allow the blade to rotate for 30 seconds.

Stop spinning for 4 seconds, and then spin for another 30 seconds.

Remember to only stop for a maximum of 4 seconds, or the blade will be damaged.

  • Step 4: Cleaning
Clean the blades with warm water and detergent.

Add lubricant to prevent rusting.

Put the sharpening stone back to the starting position.

Put the blade cover back on.

You should sharpen the blade at least every fourteen days.

Usually, the ordinary meat slicer price is between $100-$200. Some higher-end ones are generally more expensive but have more features and work better.

Manual meat slicer: 0.6 mm to 17 mm

Automatic meat slicer: 0.5 mm to 25 mm

Flywheel type slicer: less than or equal to 4 mm

Commercial food slicers: paper-thin - 98 inch

In general, we recommend not using a food slicer to cut completely frozen meat, as frozen meat slices are very hard and can damage the blades. You need to thaw the meat first to reach 20% freezing. Then, cutting the meat will be easiest and will not damage the machine.